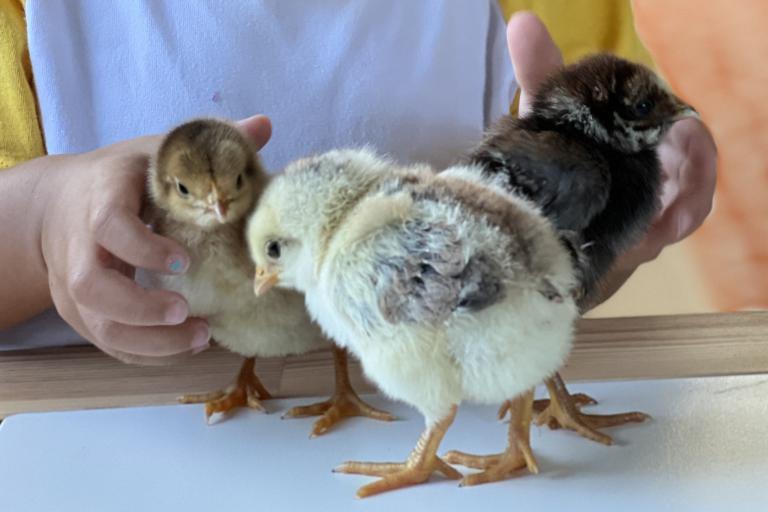
As someone who has hatched their own baby chicks, I can tell you that it is an incredibly rewarding experience. It allows you to witness the miracle of life firsthand and can be a fun and educational activity for children and adults alike. However, it does require careful planning and attention to detail to ensure the health and well-being of the chicks. In this article, I will provide a step-by-step guide on how to hatch your own baby chicks, including information on temperature and humidity.
The first step in hatching your own baby chicks is to obtain fertile eggs. I have my own flocks so I could gather fresh eggs for incubate. If you do not have fertile eggs then you could purchase from a local farm and made sure to choose high-quality eggs that were less than a week old. Along with that, you need to stored properly to ensure a higher hatch rate.
Next, I chose an incubator. There are many types of incubators available, from basic models that require manual temperature and humidity adjustments to fully automated models with digital controls. I chose an automated one that fit my needs and budget and followed the manufacturer's instructions for setting up and calibrating the temperature and humidity controls.
Temperature is one of the most important factors in hatching baby chicks. The ideal temperature for incubating chicken eggs is between 99 and 101 degrees Fahrenheit (37.2 to 38.3 degrees Celsius). I monitored the temperature regularly using a thermometer and made adjustments to the incubator's settings as needed to maintain a consistent temperature.
Humidity is also important for successful chick hatching. The ideal humidity level during the incubation period is between 40 and 50 percent. During the last few days before hatching, humidity should be increased to around 65 percent to help the chicks break out of their shells. I monitored the humidity levels using a hygrometer and added water to the incubator's water tray as needed to maintain the proper humidity levels.
Once the incubator was set up and the temperature and humidity levels were calibrated, it was time to incubate the eggs. I placed the eggs in the incubator with the pointed end facing down and turned them at least three times a day to prevent the embryo from sticking to the inside of the shell.
After about 21 days, the eggs began to hatch. It was important not to disturb the eggs during this time. If I noticed a chick struggling to hatch, I assisted by carefully peeling away small pieces of the shell. It was important to be very gentle and only remove small pieces at a time to avoid injuring the chick. I did not remove the entire shell or pull the chick out of the egg.
Once the chicks had hatched, they needed proper care and attention. I moved them to a brooder box with a heat lamp to keep them warm and provided them with fresh water and chick feed. I monitored their behavior and health closely in the first few days to ensure they were eating, drinking, and staying warm.
In conclusion, hatching your own baby chicks can be a fun and rewarding experience. It does require careful planning, attention to detail, and patience, but it is well worth the effort. By monitoring the temperature and humidity levels and following these steps, you can successfully hatch your own baby chicks and watch them grow into healthy, happy chickens.

